
IPC-CFX AMQP Version 1.0 Guide
Introduction
The broker for CFX messages is AMQP v1.0 (Advanced Message Queuing Protocol) (http://www.amqp.org). Versions of AMQP prior to v1.0 are not compatible with CFX.
AMQP was originally developed by the financial industry to facilitate the reliable processing of secure financial transactions across broad geographies, and its natural qualities of high-reliability and secure message transmission make it an ideal fit for CFX. The CFX standard does not dictate any specific message AMQP v1.0 routing infrastructure. Numerous open-source AMQP software development toolkits are freely available. Software developer support is required for the setup of AMQP brokers
Location of AMQP v1.0 Brokers
AMQP v1.0 brokers can anywhere. Internally, these can be line-based, factory-wide, regional or even global, depending on the nature of event capture. An AMQP v1.0 broker can also be in the cloud, as used by the www.connectedfactoryexchange.com demo website.
Firewall Considerations
Where access is required through a firewall, for example to a cloud-based broker, please ensure that port 5672 is opened in the firewall.
Security Considerations
AMQP v1.0 can be configured as secure, having data encrypted as it leaves the machines, which is a configuration option at the machines side.
RabbitMQ (https://www.rabbitmq.com/) is the most widely deployed open source message broker, and recommended for use with CFX. With more than 35,000 production deployments of RabbitMQ world-wide at small start-ups and large enterprises, RabbitMQ is the most popular open source message broker. RabbitMQ is lightweight and easy to deploy on premises and in the cloud. It supports multiple messaging protocols. RabbitMQ can be deployed in distributed and federated configurations to meet high-scale, high-availability requirements.
RabbitMQ runs on many operating systems and cloud environments, and provides a wide range of developer tools for most popular languages.
At the time of writing the latest release of RabbitMQ is 3.7.14.
This document details installing and configuring RabbitMQ in a Windows environment. For other Operating Systems please visit www.rabbitmq.com. This guide also assumes a single-node installation.
RabbitMQ can be downloaded from https://www.rabbitmq.com/download.html
Install the Server
RabbitMQ requires a 64-bit supported version of Erlang for Windows to be installed. There's a Windows installer for Erlang.
Important: the Erlang installer must be run using an administrative account otherwise a registry key expected by the RabbitMQ installer will not be present.
Then, run the RabbitMQ installer. It installs RabbitMQ as a Windows service and starts it using the default configuration.
Port Access
Firewalls and other security tools may prevent RabbitMQ from binding to a port. When that happens, RabbitMQ will fail to start. Make sure the following ports can be opened:
- 5672, 5671: used by AMQP 0-9-1 and 1.0 clients without and with TLS
- 15672: HTTP API clients, management UI and rabbitmqadmin (only if the management plugin is enabled)
It is possible to configure RabbitMQ to use different ports.
Default user access
The broker creates a user guest with password guest. Unconfigured clients will in general use these credentials. By default, these credentials can only be used when connecting to the broker as localhost so you will need to take action before connecting from any other machine.
Overview
RabbitMQ supports plugins. Plugins extend core broker functionality in a variety of ways: with support for more protocols, system state monitoring, and more. A number of features are implemented as plugins that ship in the core distribution.
Management Plugin
The RabbitMQ management plugin provides an HTTP-based API for management and monitoring of RabbitMQ nodes and clusters, along with a browser-based UI and a command line tool, rabbitmqadmin.
It periodically collects and aggregates data about many aspects of the system. Those metrics are exposed to both operators in the UI and monitoring systems for long term storage, alerting, visualisation, chart analysis and so on.
The plugin can be configured to use HTTPS, a non-standard port, path prefix, HTTP server options, custom strict transport security settings, cross-origin resource sharing, and more.
It also provides tools for analyse memory usage of the node, for preconfiguring the node using an exported schema definitions file, and a few other features related to monitoring, metrics and node management.
Getting Started
The management plugin is included in the RabbitMQ distribution. Like any other plugin, it must be enabled before it can be used. That's done using rabbitmq-plugins:
rabbitmq-plugins enable rabbitmq_management
Node restart is not required after plugin activation.
Usage
The management UI can be accessed using a Web browser at http://{node-hostname}:15672/. For example, for a node running on a machine with the hostname of warp10.local, it can be accessed at either http://warp10.local:15672/ or http://localhost:15672/ (provided that localhost resolves correctly).
AMQP 1.0 Protocol Support
By default RabbitMQ supports AMQP 0.9, however AMQP 1.0 support is included with the RabiitMQ installation.
To enable this protocol the following command is required.
rabbitmq-plugins enable rabbitmq_amqp1_0
Node restart is not required after plugin activation.
On the computer that has the RabbitMQ installation on it start your web browser and enter the URL: http://localhost:15672/
The following should be displayed:
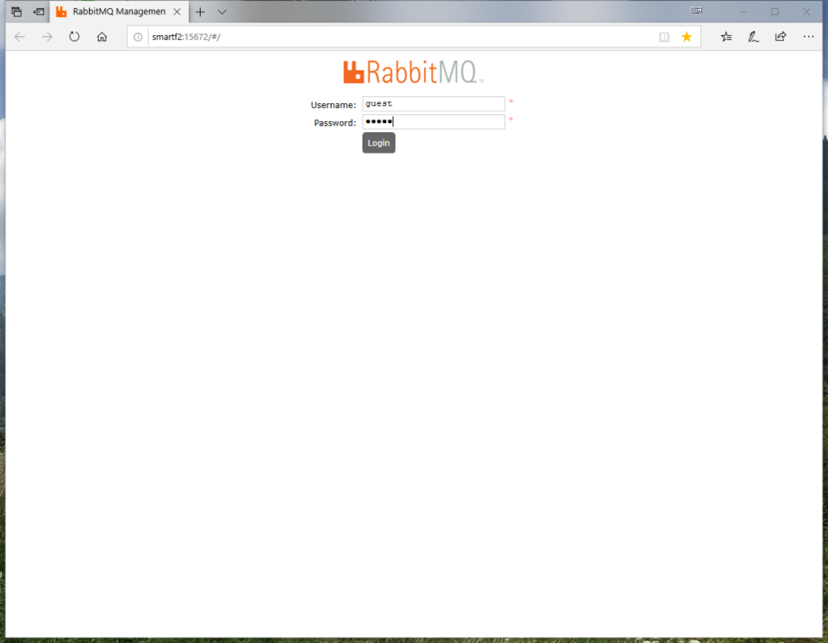
Enter the username and password. Initially these are guest and guest, as explained in the installation section of this document.
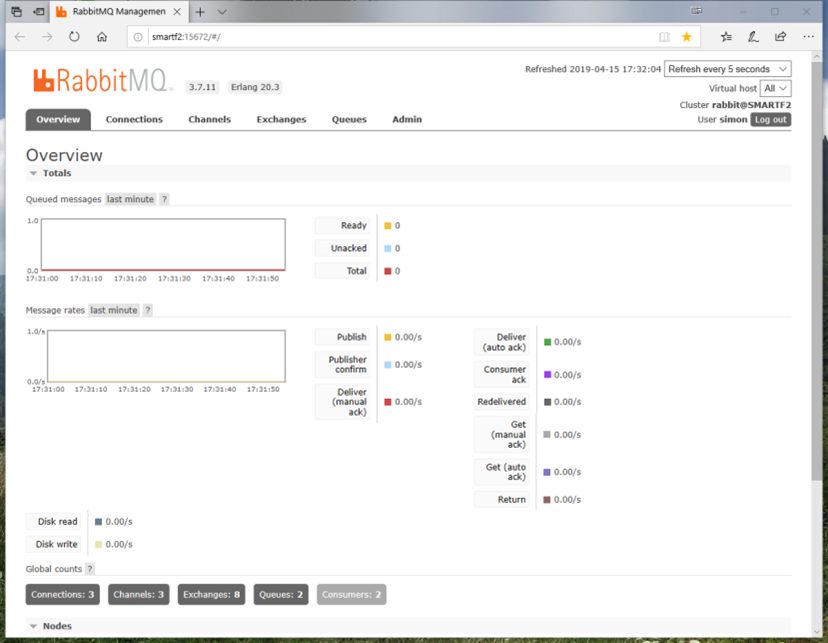
After a successful log-on the main dashboard screen will be displayed.
Create an Exchange
To accept CFX messages you need to create an Exchange. From the tabs select Exchange. This will then display the current list of exchanges.
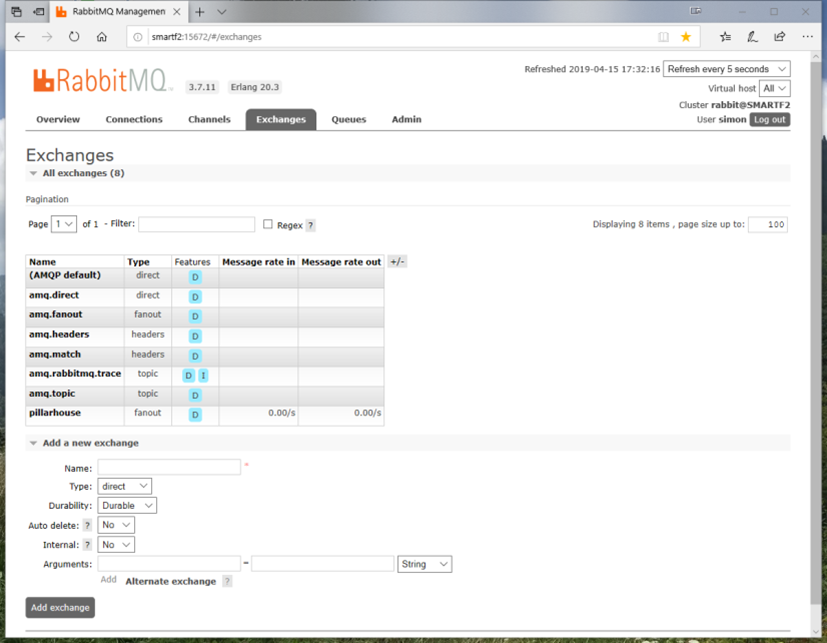
Use the section in the lower part of the screen to create a new exchange.
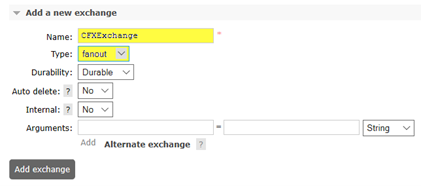
The important settings are:
- Name: This is the name of your exchange.
- Type: This must be set to ‘Fanout’ to ensure correct operation.
The exchange, configured above, will route messages to queues ready for consumption by an end process. It is bit like a Post Sorting Office. The mail arrives at the sorting office then it is put into a pigeon hole waiting for the end-user to collect.
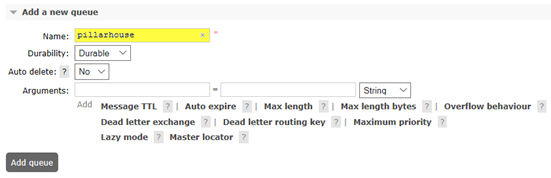
To create a Queue from the tabs select Queues. This will then display the current list of queues.
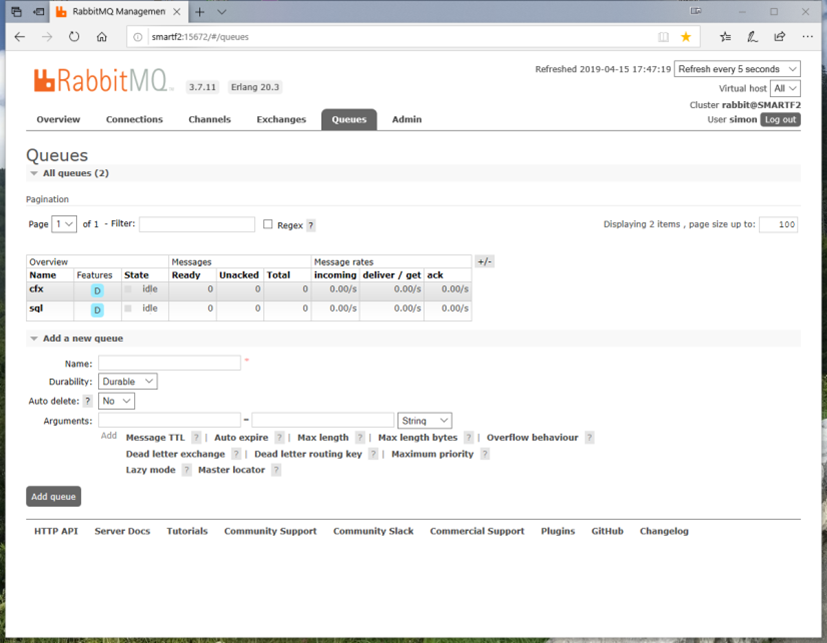
Use the section in the lower part of the screen to create a new exchange.
Binding Queues to an Exchange
To ensure correct routing it is good practice to bind the queue to an exchange. It is possible to do this with the CFX SDK code.
Go back to the Exchange tab and select the required exchange.
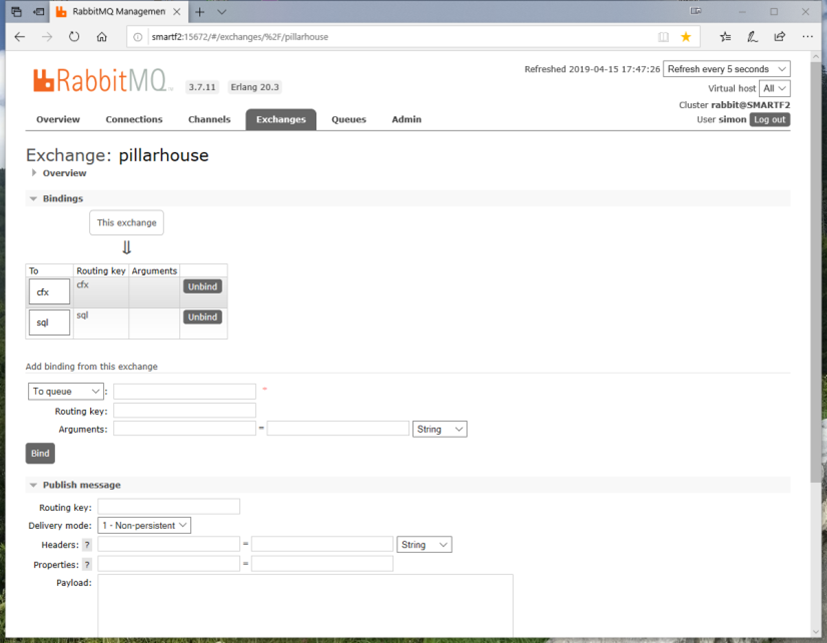
This will show current bindings and give you option to add an already defined queue to this exchange.
This setup procedure should be sufficient for you to publish messages from a CFX message producer and see them arrive and be routed to the queues with the RabbitMQ broker.